Good afternoon!
Thought i'd post here about the adventure replacing the charging socket lock mechanism.
Details:
The white pin over the EVSE socket that locks your charging cable in place *will* eventually stop working. I tore mine apart, and there are a *lot* of things that can go wrong (missing teeth, white pin being out of alignment, motor getting wet, etc).
What sucks is the following:
Here are the replacement part numbers for the locking mechanism since they're pretty hard to find:
Operation:
A small motor drives a series of gears (outer two pins on the connector) to move the pin in and out. The pin triggers a switch so the car can detect if the plug is locked (inner two pins). I wouldn't bother trying to open the switch unless you really want to know how it works. There is no easy way to "fix it" since the case is glued down (don't let those clips on the switch fool you... leave them alone)
There are two 1/4 watt resistors configured as follows on the inner two pins:
I wouldn't just "override" the switch as it could create a dangerous situation if level 3 charging.
The Motor seems to be a 6-12v hobby motor.
There are two "pull cords" on the passenger side rear door behind some foam. They manually release the lock or the charging flap.
Time Required
With most of the right tools, took me a few hours.
Tools Required
Replacing the locking switch requires the following:
Thought i'd post here about the adventure replacing the charging socket lock mechanism.
Details:
The white pin over the EVSE socket that locks your charging cable in place *will* eventually stop working. I tore mine apart, and there are a *lot* of things that can go wrong (missing teeth, white pin being out of alignment, motor getting wet, etc).
What sucks is the following:
- Car will refuse to level 3 charge without this pin working as designed. Unplugging level 3 before it's shut off will result in a potentially large arc which could damage the car or operator.
- Charging cord will no longer lock / unlock when charging
Here are the replacement part numbers for the locking mechanism since they're pretty hard to find:
- US Type 1 w/rapid charge: 61-13-6-805-424
- EU Type 2 w/rapid charge: 61-13-6-805-425
Operation:
A small motor drives a series of gears (outer two pins on the connector) to move the pin in and out. The pin triggers a switch so the car can detect if the plug is locked (inner two pins). I wouldn't bother trying to open the switch unless you really want to know how it works. There is no easy way to "fix it" since the case is glued down (don't let those clips on the switch fool you... leave them alone)
There are two 1/4 watt resistors configured as follows on the inner two pins:
- Unlocked: 11K Ohms
- Locked: 1K Ohms
I wouldn't just "override" the switch as it could create a dangerous situation if level 3 charging.
The Motor seems to be a 6-12v hobby motor.
There are two "pull cords" on the passenger side rear door behind some foam. They manually release the lock or the charging flap.
Time Required
With most of the right tools, took me a few hours.
Tools Required
- Pentalobe security bits (damnit BMW)
- Metric Sockets, small wrench, some swivel sockets and extensions.
Replacing the locking switch requires the following:
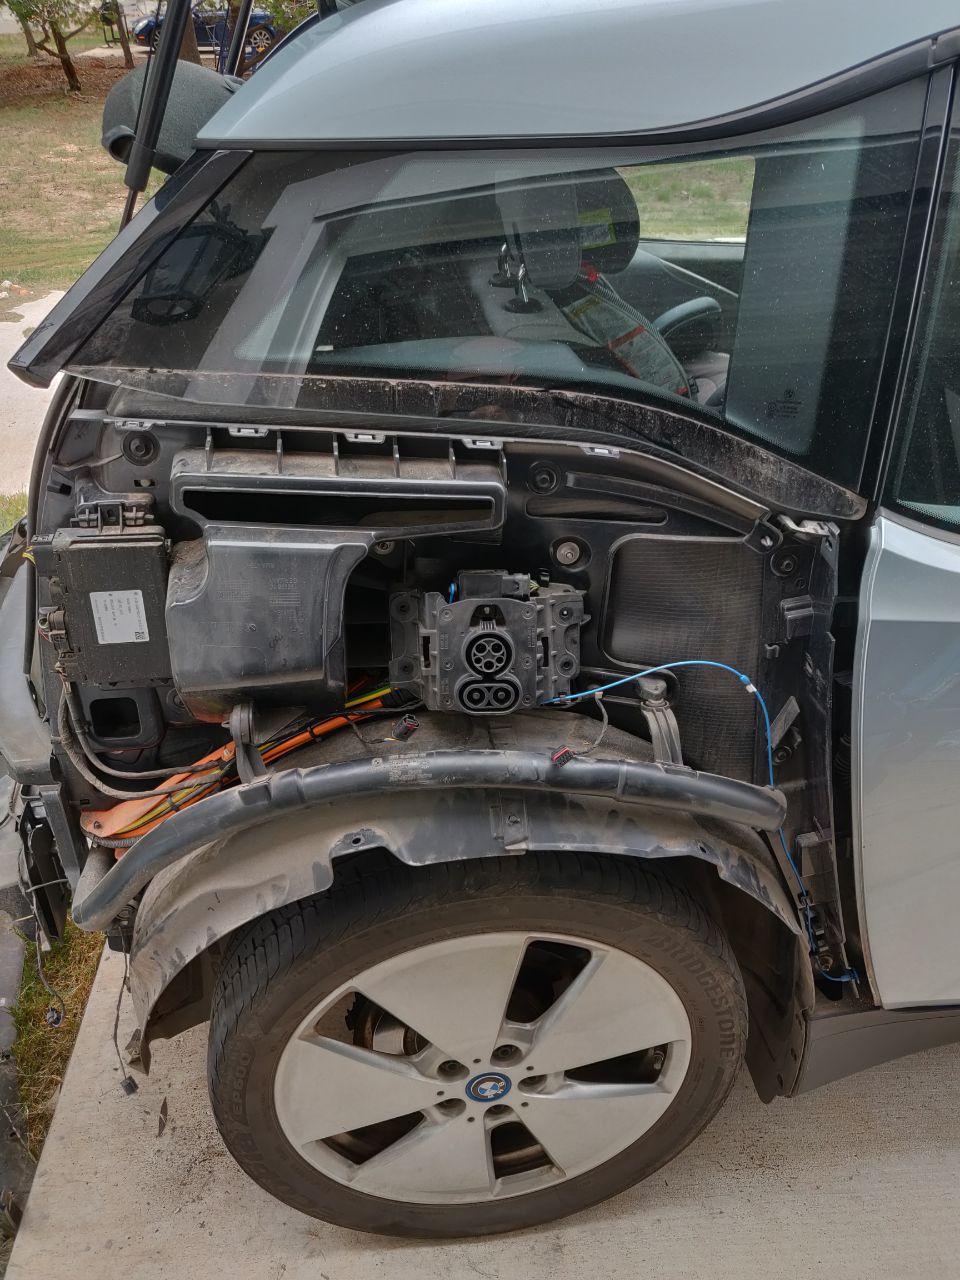
- Get under the front hood and disable the high voltage by opening the orange switch on the right side.
- Remove all screws around the rear wheel well on the side of the charging flap.
- Remove the rear bumper. (check for screws under the rear and behind the license plate)
- Remove all remaining screws you can find on this side of the car.. unclip panels apart carefully and remove side panel.
- This gives you full access to charging socket. Remove screws, remove the locking module.
- The Locking Module is held in with two "Pentalobe security bits" I ended up drilling them out and using a easy out to remove them. Replaced with some course plastic screws I had laying around that were "close enough"